¶ Git Commands
Some commands to set up a GitLab Project. Some of these commands crossover with standard Git commands.
¶ Create a remote repo
-
initialise git repo locally
cd /path/to/your/project git init -
If you already have files created here, then you add them to the "commit"
git add .Note that the '.' in the command above adds all the files and subdirectories to the commit
-
Next, add a message to to the commit
git commit -m "Initial commit" -
Next to create a project on a GitLab instance. For this we will need a personal token created. To do this, follow these steps:
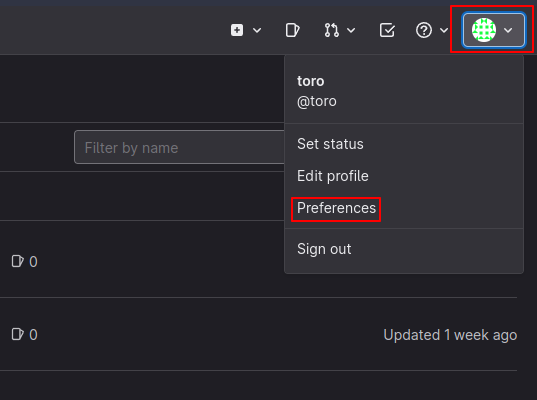
- Go to your user preferences in the top right
- Now select "Access Tokens" on the left hand side
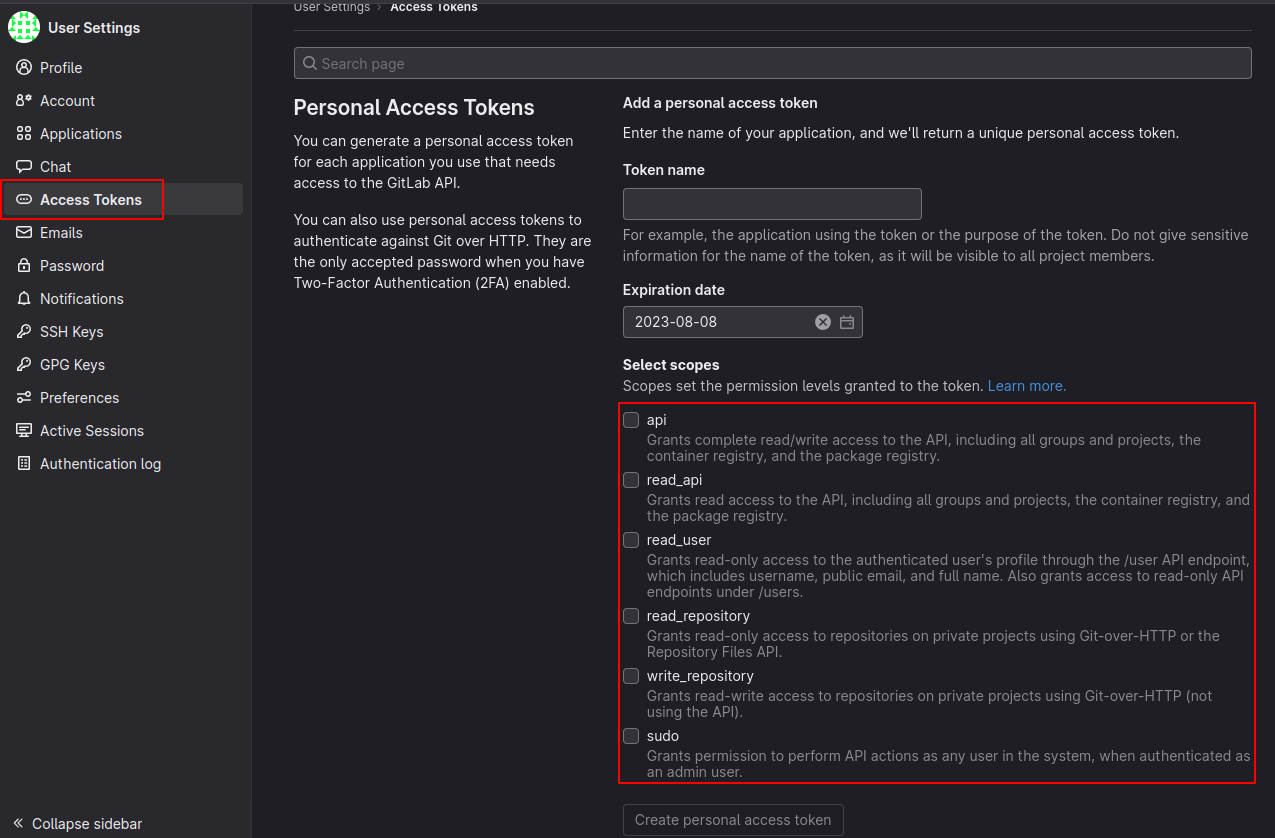
- Enter the token name - I would recommend making this something meaningul, especially if you are going to use a lot of these. Ensure that you select the correct "scopes" in order to ensure that the token only has as much access as necessary.
- Next, copy the token (scroll down to find this).
- Go to your user preferences in the top right
-
Now open a terminal, and use the following command to create a project on your GitLab instance.
curl --header "PRIVATE-TOKEN: YOUR_ACCESS_TOKEN" --data "name=YourProjectName" --data "default_branch=main" --data "visibility=public" "http://GITLAB-INSTANCE/api/v4/projects"With the above command, you will need to replace the following:
- "YOUR_ACCESS_TOKEN" with the token you copied in the previous step
- "YourProjectName" with the name of your project
- "GITLAB-INSTANCE" with the hostname/path of your GitLab instance
Once complete, you can refresh your GitLab instance to ensure that the project has been succesfully created.Note that the with the option "--data "default_branch=main"" omitted, the default branch will be called "master"
-
Now we need to link the local repo to the remote repo on your GitLab instance with the following command:
git remote add origin http://GITLAB-INSTANCE/your-username/YourProjectName.gitIn this command we need to replace the following:
- "GITLAB-INSTANCE" with the hostname/path of your GitLab instance
- "your-username" with your user name
- "YourProjectName" with the name of your project
-
Now we need to 'push' (upload) the commit we made earlier to GitLab.
git push -u origin mainWhen you press return, you will be asked for your username and password and you should see an output like this:
Username for 'http://GITLAB-INSTANCE': your-username
Password for 'http://your-username@GITLAB-INSTANCE':
Enumerating objects: 2233, done.
Counting objects: 100% (2233/2233), done.
Delta compression using up to 12 threads
Compressing objects: 100% (2209/2209), done.
Writing objects: 100% (2233/2233), 26.43 MiB | 5.04 MiB/s, done.
Total 2233 (delta 213), reused 0 (delta 0), pack-reused 0
remote: Resolving deltas: 100% (213/213), done.
To http://GITLAB-INSTANCE/your-username/YourProjectName.git
* [new branch]      main -> main
branch 'main' set up to track 'origin/main'.
¶ Clone a repo to local storage
-
First change to the directory where the project is located on the local storage
cd /path/to/project/storageNote that there is no need to create a directory the same name as the project, this will automatically be created.
-
Next, we need to clone the repo
git clone http://GITLAB-INSTANCE/your-username/YourProjectName.gitor if using SSH
git clone git@GITLAB-INSTANCE:your-username/YourProjectName.git -
After this you may need to authenticate - this depends on if the repo is private or public. Once done, the files will be pulled
-
Next, move to the project directory on the local storage.
cd YourProjectName
¶ List Branches
In order to list what braches are available, execute the following:
[user@host gitproject]$git branch
* main
  testing
(END)
Press 'q' to exit this list. In the example above, we have two branches: main and testing.
Main currently has an asterisk next to it. This indicates that this is the currently selected branch.
¶ Switch Branches
In order to switch between branches, they must be "checked out".
Do this by using the following command:
[user@host gitproject]$ git checkout testing
Switched to branch 'testing'
Your branch is up to date with 'origin/main'.
¶ Git ignore
Git can be made to ignore files and directories.
Lets look at the examlpe below:
*.yml
test/
env/
This will ignore all files ending .yml, the test directory and all files and subdirectories contained within as well as the env directory